Import From Options
Import From Option copies planning information from a source option into the current destination option. The source and destination must have shared Option Areas; the area selector only shows areas that can be imported between the two options.
The import can copy blockers, current delivery information, project-level cost overrides and RMM custom costs. If the options have different settings, the resulting workbank may change during the import.
Start an import
- Open the destination option's rollout calendar.
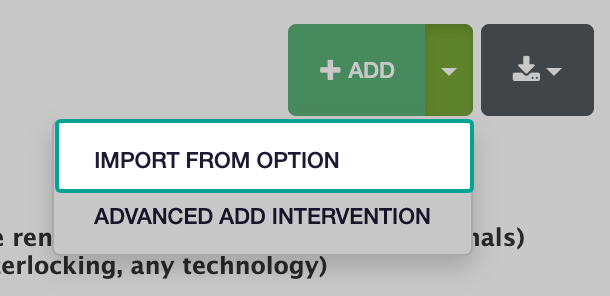
- Select the dropdown arrow beside Add.
- Select Import From Option.
- Enter the source option's ID or name, then select the matching option from the results.
- Select Next.
The source option cannot be the same as the destination option. If no result is shown, check the option ID or name and confirm that you have access to the source option.
Choose what to replace
Choose one of the following modes:
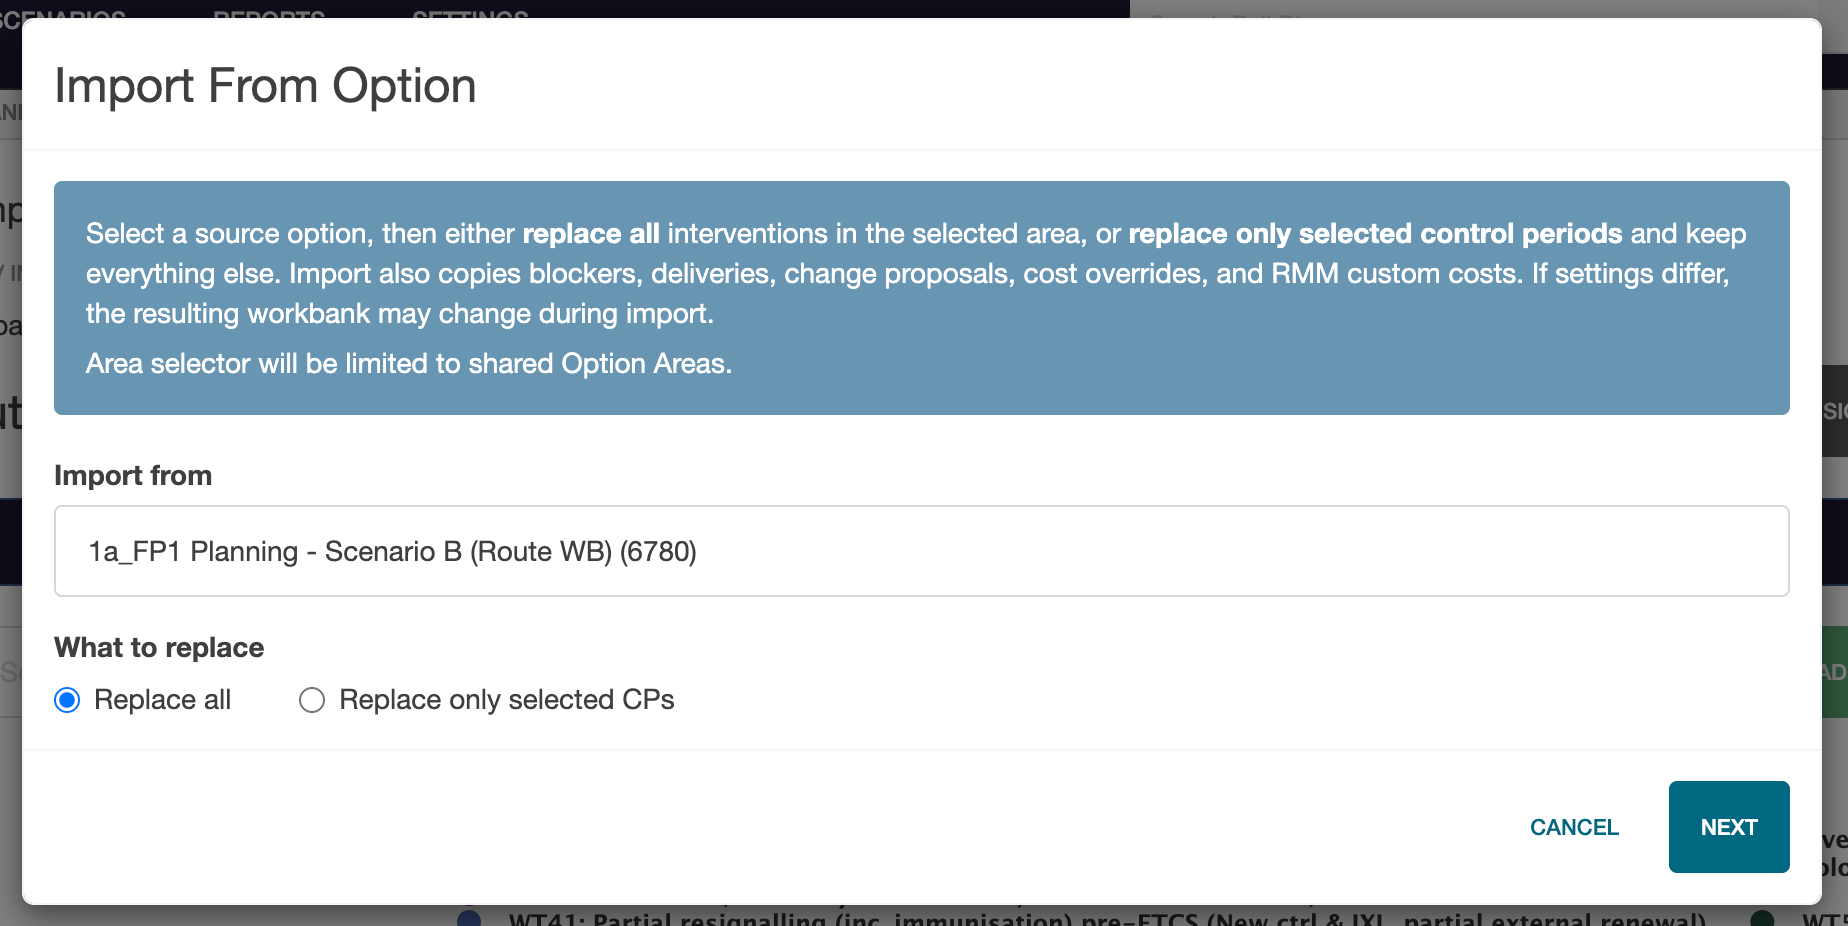
Replace all
Replaces all destination interventions in the selected area with the source option's interventions. This is the full replacement mode; blockers, current delivery information, project-level cost overrides and RMM custom costs are also copied.
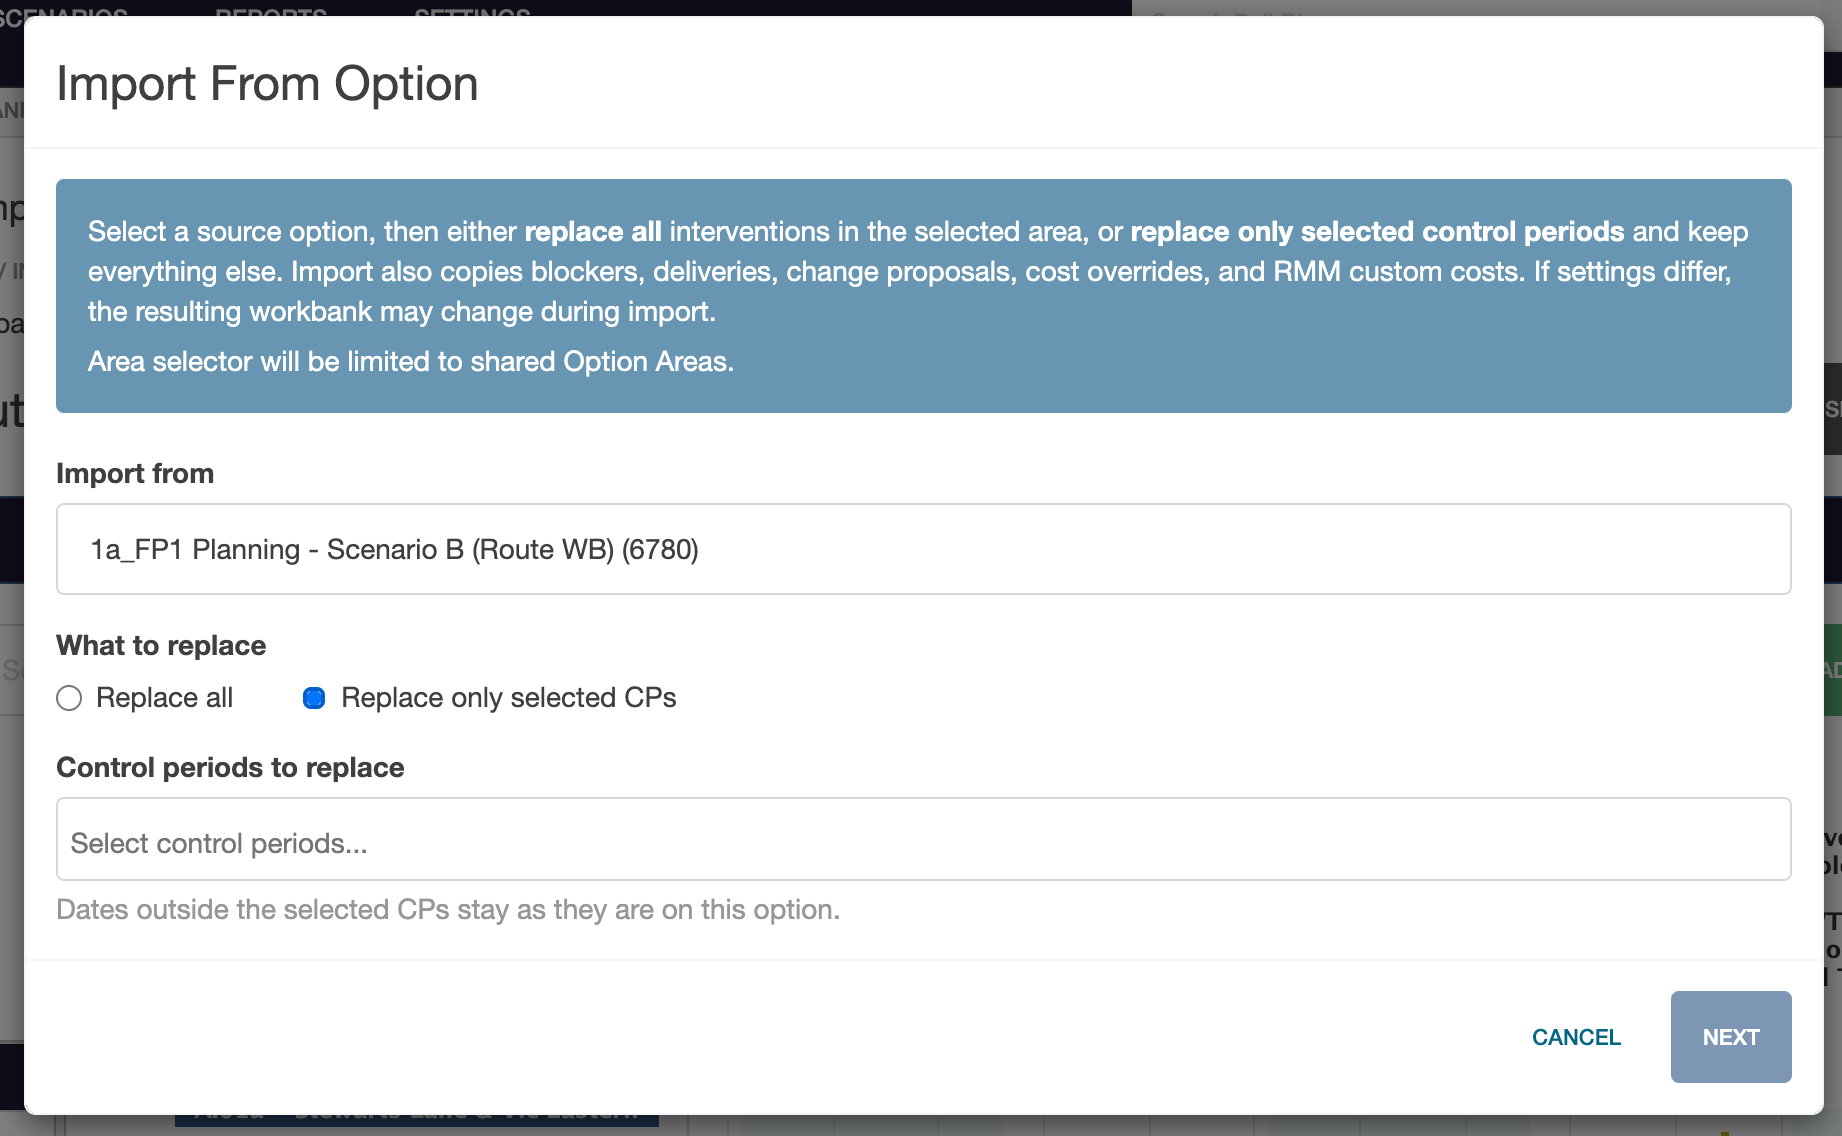
Replace only selected CPs
Replaces interventions only for the control periods selected in Control periods to replace. Dates outside the selected CPs stay as they are on the destination option.
The available control-period ranges are:
- CP5 and below
- CP6 (2019–2024)
- CP7 (2024–2029)
- CP8 (2029–2034)
- CP9 (2034–2039)
- CP10+
You can select more than one control-period range before selecting Next.
Copy blockers only
Leaves destination interventions unchanged. Source intervention blockers in the selected area are copied, and the area is rebuilt.
Select the areas
Before selecting an area, review the warning about differences in target renewal dates, renewal period overrides, technology policies and the Disable Automated Renewals Before date. These differences can cause imported interventions to differ from the source option.
The area step has two tabs:
- Interlocking Areas — choose a grouping from Select interlocking area, then select from the available shared areas.
- Level Crossings — select from the available shared level crossings.
Move the areas you want to import into the selected list. Use Add selected & related areas to include related areas, or use the button's dropdown and choose Add selected areas only to exclude related areas.
The selected-area table shows the areas included in the import and their SEU counts. Review the list, then select Next.
Review and confirm
The final screen shows:
- Plan — the exact operation, source option and (for selective imports) control periods that will be used.
- Settings Differences (vs source option) — a comparison of current and importing settings, such as Start Year, automated-renewal cut-off and Option Technology Policy Version.
- Area — the areas that will be changed.
Select Back to revise the mode or areas, or Cancel to leave the import without changes.
Use the Dry Run? toggle to verify the import before applying it. The information icon explains that a dry run sends an email with the verification results, that verification time depends on area size, and that changes to the option are disabled while verification runs.
When the review is correct, select the final action:
- Import Interventions in Area for Replace all or Replace only selected CPs.
- Copy Blockers in Area for Copy blockers only.
These actions change the destination option. Do not confirm the import until the plan, settings differences and area list have been checked.
After the import
After the import completes, the destination option may need to be cached before cost outputs are available. If the Enable Disciplines button is shown, use it to confirm which disciplines are enabled for the option.