Asset Selection
Asset Selection
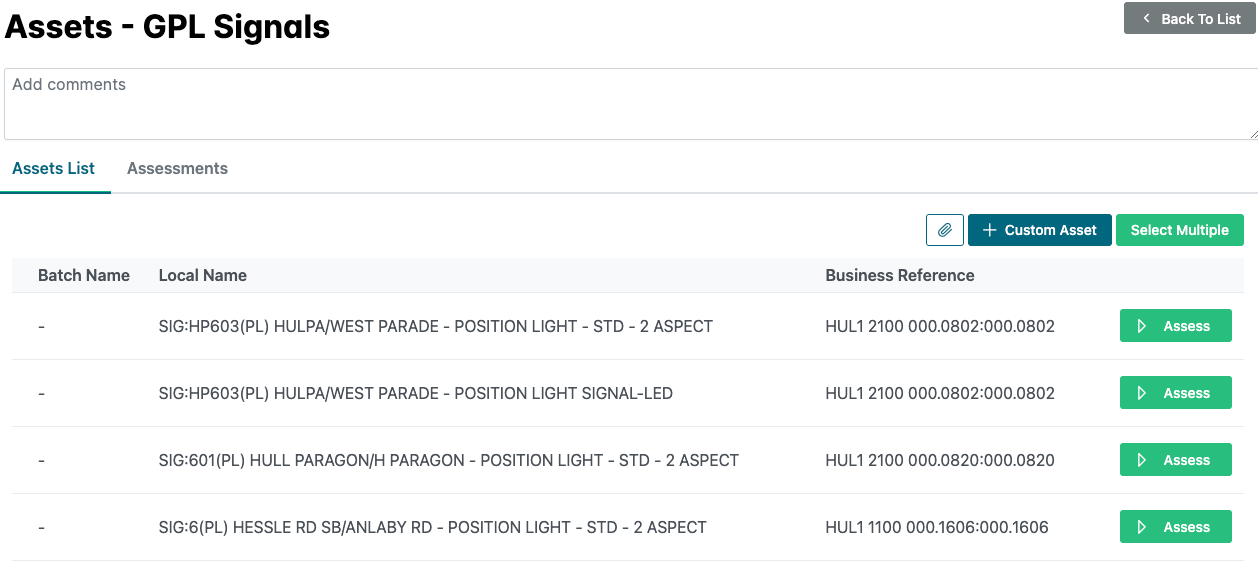
Once an element type has been selected, a list of all assets in that group is displayed.
Single Assets
To complete an assessment for a single asset, select the "Assess" button next to the asset record.
Multiple Assets
To complete an assessment for multiple assets, click the "Select Multiple" button. To add an asset to the batch, select the checkbox in the asset record.
Once you have selected all assets for the batch, click "Assess Assets".
Completed Assessments
Once an asset has had it's assessment completed, it will be highlighted in blue.
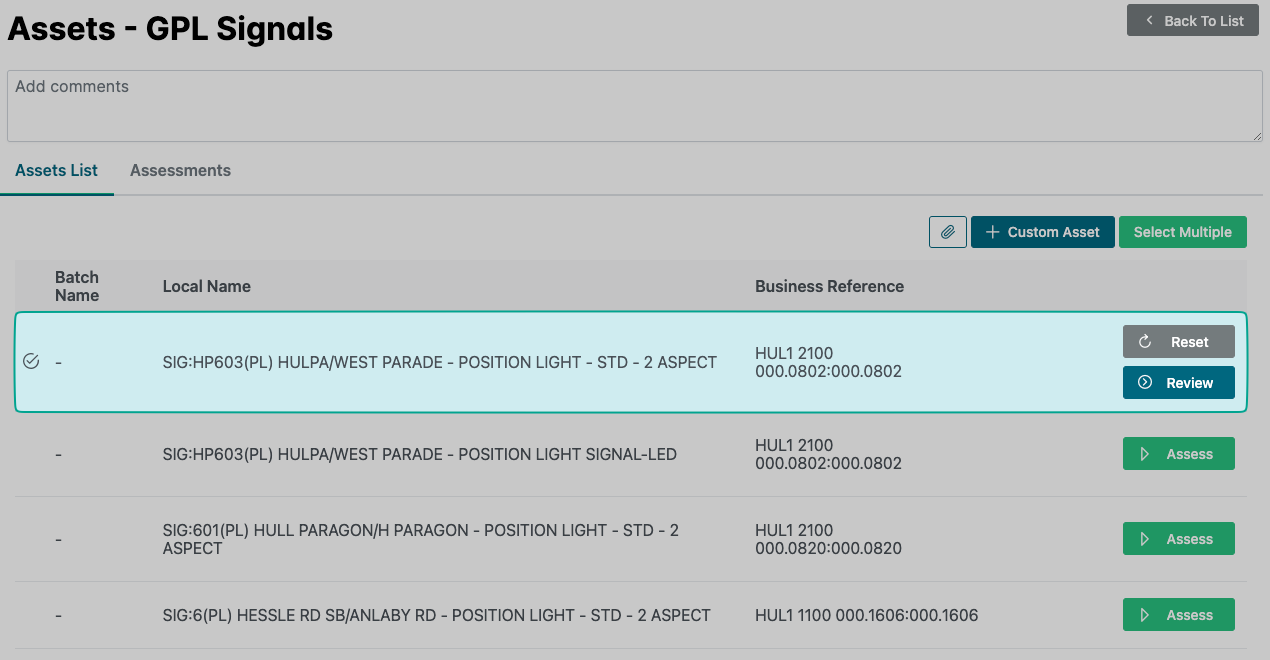
The "Assess" option is removed and users now have the ability to reset the assessment (start from a blank assessment) or review the answers provided.
Additional Options
Several additional options are available on this page.
Attachments
Images, additional attachments and comments can be added throughout an assessment..
To add an attachment, select the "attachments" icon, then "upload". Locate the attachment then select the file. Once completed, click "Save".
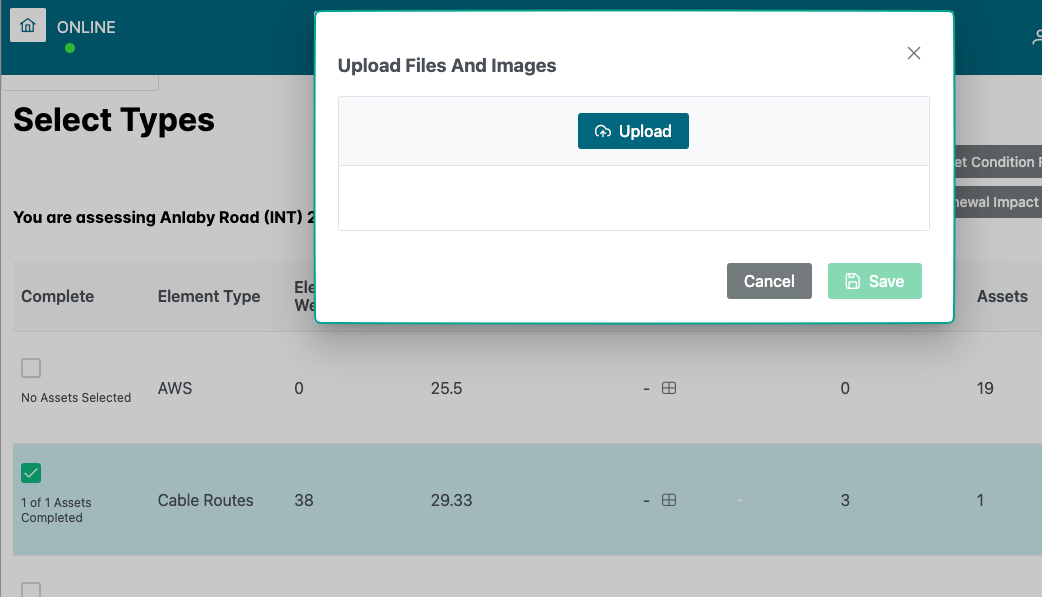
When an attachment has been successfully uploaded, the attachment icon will display green.
To add a further attachment (or remove an existing attachment), select the icon again.
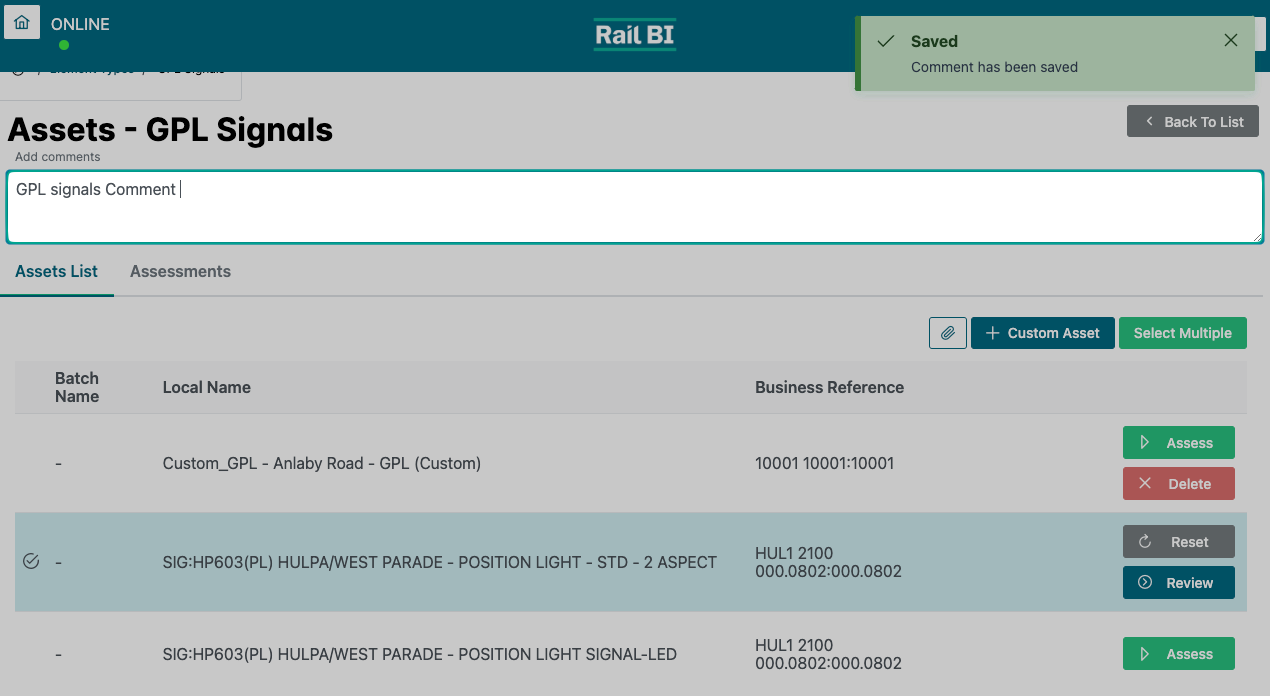
Comments can be added in the header box, which automatically saves.
Any attachments added at this stage are required to be element level evidence and should not relate to any specific asset or the overall site.
Custom Asset
If an asset does not appear in the asset list, selecting "Custom Asset" will allow this to be added for review. A pop up will be displayed requesting information about the asset.
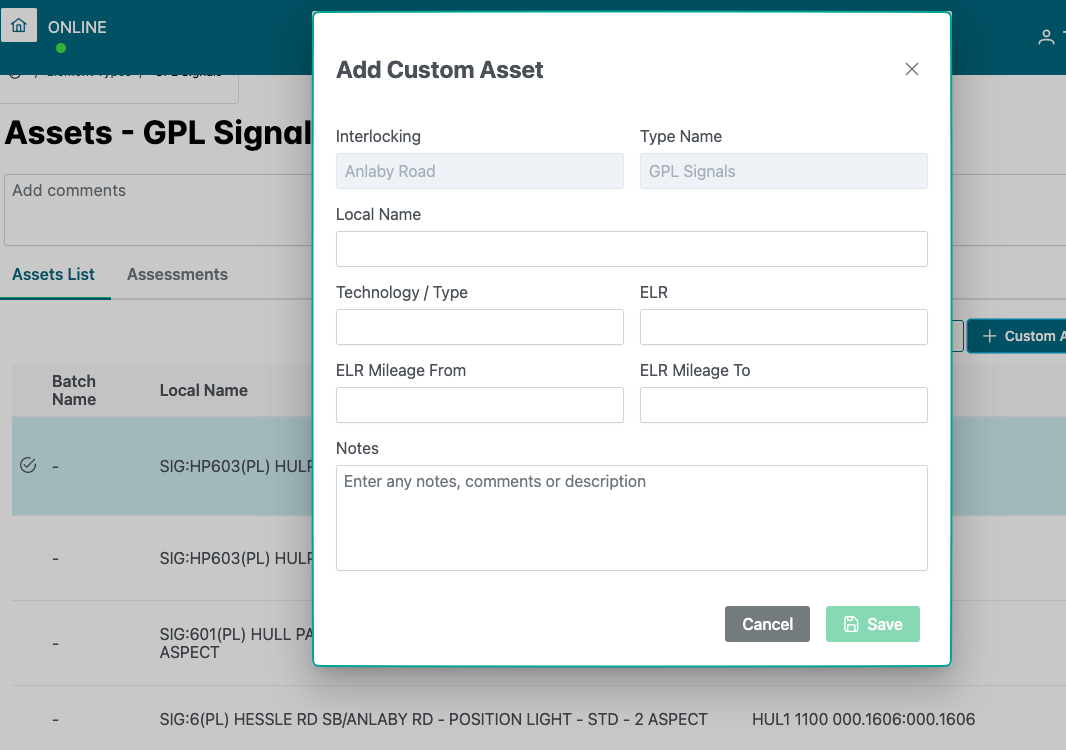
After selecting "save", the asset will appear in the Asset Selection list.
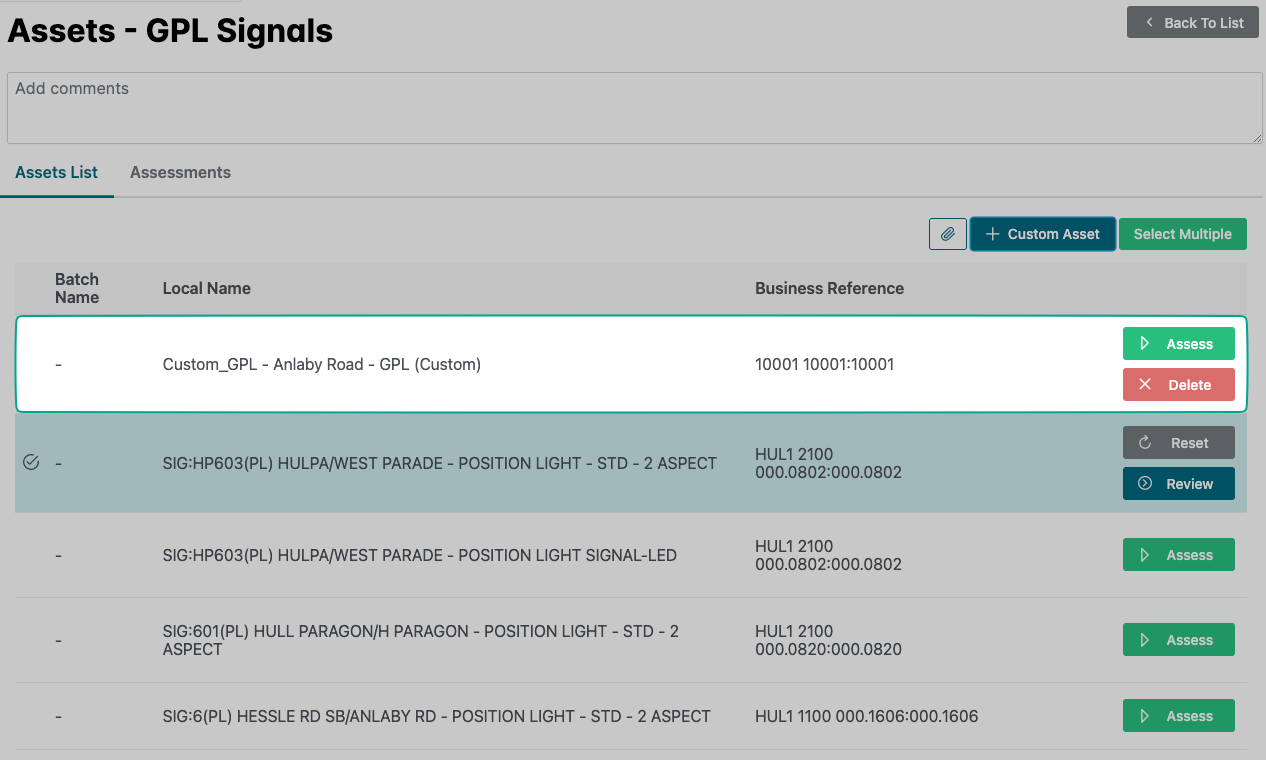
If this was entered in error, the asset can be deleted using the "Delete" button.
Any images contained within this documentation are for demonstration purposes only. Condition and Renewal information have been generated specifically for this purpose and do not reflect the assets true status.