Checking Indexes
Once a route card has been added to an index, it can then be checked.
Checking requires the Checker user permission and an IRSE license to be entered
Select an Index that is Awaiting Check and click View Index.
Approve Checks
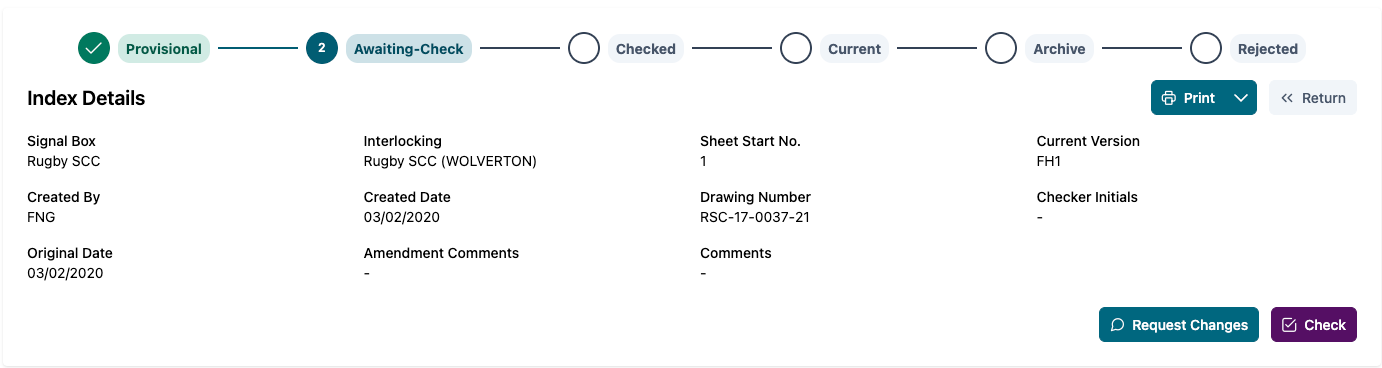
Check the index information along with route cards to ensure the data is correct and you are happy to proceed with confirming the Check.
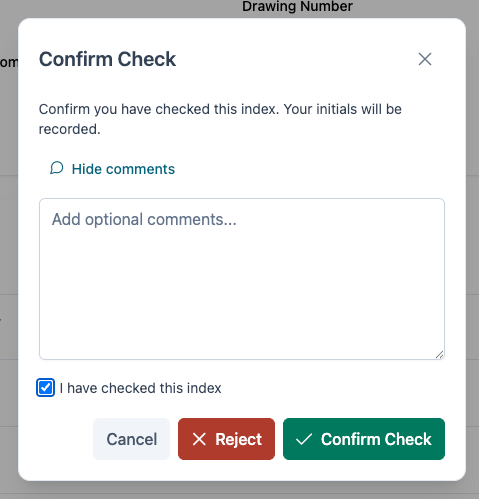
Once you are ready to proceed, click Check. A prompt will be displayed to allow any comments to be added. You must select the "I have checked this index" box before confirming the Check.
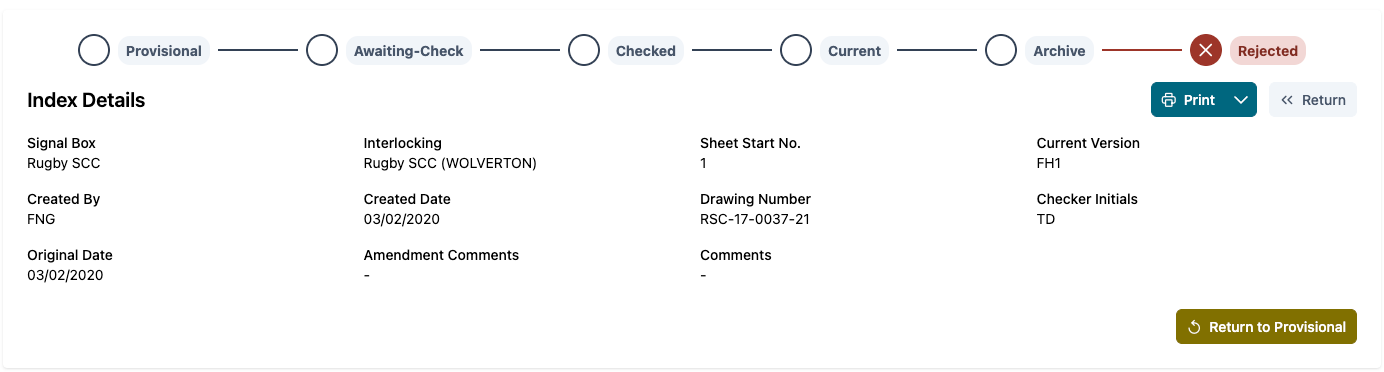
After Checking an Index, the current users initials will be added as the Checker Initials on the index record. The index will then go into Checked Status
Rejecting Checks
If the information is not correct, Checking can be Rejected. This will set the Index status to Rejected.
To Reject a Check, select the Reject button on the Check Confirmation modal.
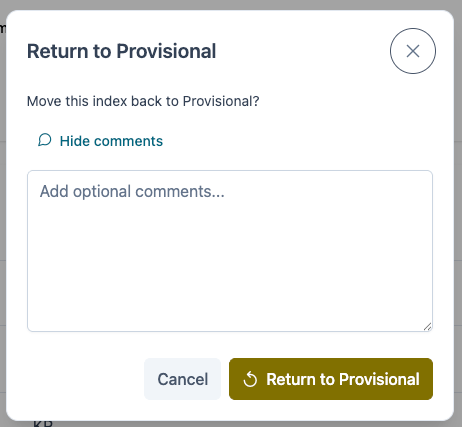
The index can then be returned to provisional by selecting the Return to Provisional button. This gives the option to add any further comments when returning back to provisional status.