Main Dashboard
Upon logging into the NSRL application, the main dashboard screen will be displayed.
Four tabs are available from this page, each with a separate data display.
View Tabs
Interlocking
By default, the table will be ordered alphabetically by Interlocking Name.

To view any interlocking, select the View Interlocking link for the row you wish to view.
Route Card Status
The Route Card status dashboard displays the current status of an index at a glance. This can be used to view indexes in specific statuses (i.e. Pre-Checked, Provisional).
To view the index, select the View Index link for the row you wish to view.
Outstanding Interlocking
The Outstanding Interlocking page displays a data table of all interlocking without index that are not mechanical lever frames.
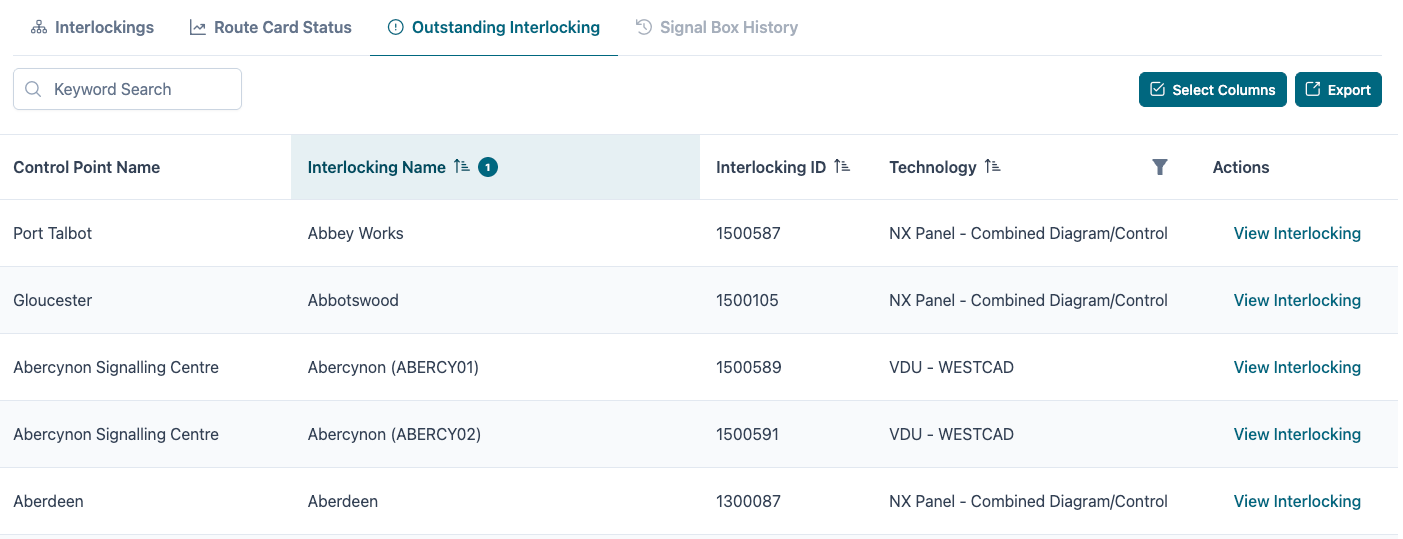
To view any interlocking, select the View Interlocking link for the row you wish to view.
Signal Box History
The Signal Box history page shows which changes were made to indexes or route cards.
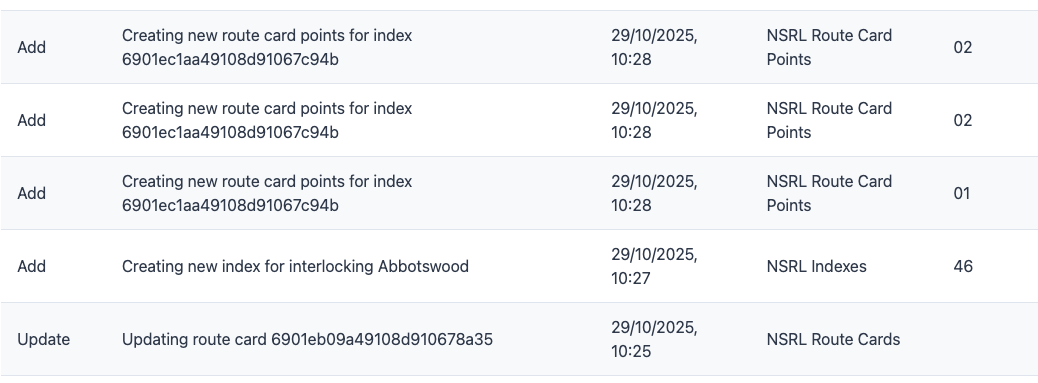
The Action column shows the action that was taken (Add, Delete or Update) along with the date that the change was made. The User column displays the user that made the change.
Filters, Sorting And Searching
Search
The search box allows interlockings to be found quickly using a text search.

To perform a search, enter the keyword to search by in this box. The data table will automatically update as each character is added or removed.
To clear the search, remove the text from the field or refresh the page.
Search returns matches from text fields only
Filters
To add a filter to the Interlocking Name column, select the Filter icon.
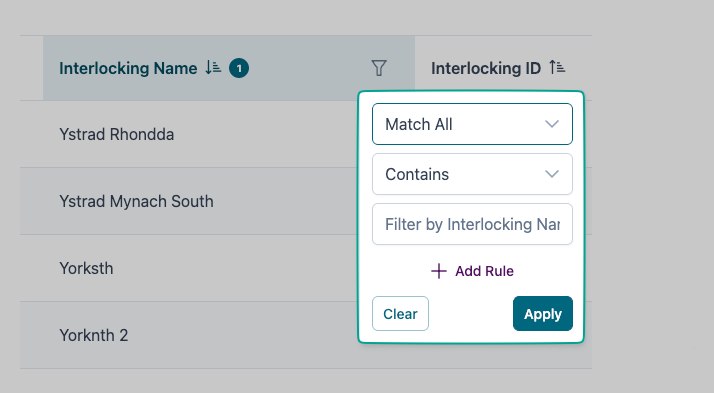
Set which constraints are to be applied to the filter, then click Apply.
To add additional rules, select Add Rule.
To add a filter to a column, select the Filter icon.
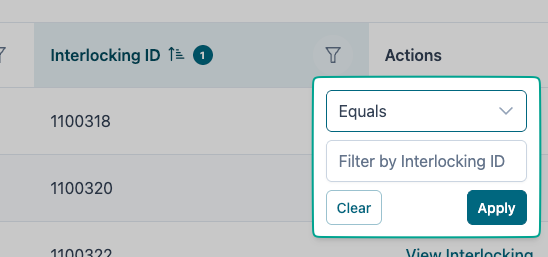
Set which constraints are to be applied to the filter, then click Apply.
When adding multiple rules, Match All / Match Any can be used. Single filters only use the search term.
To remove the filter on this column, select Clear.
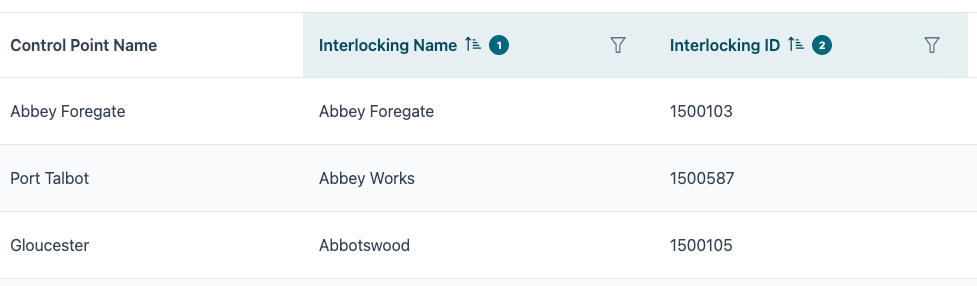
Sorting
To select a column to sort by, click on the column title row. To add an additional sort column, hold Ctrl and click on the additional column name.
The sort order is displayed via a numerical indicator on the column title row.
Select Columns
The Select Columns button allows fields to be added or removed from the data table display.
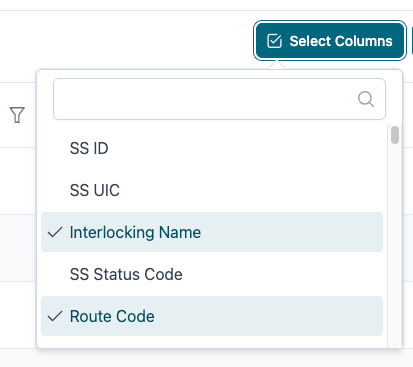
To add or remove a column, simply click the option in the dropdown. Column names can be searched by entering keywords into the search bar for the column selector.
Export
The Export button allows the currently displayed data to be exported to CSV.
This respects any keyword searches, filtering or sort order that is set on the data table.